Showing posts with label green. Show all posts

Monday, June 6, 2011

Upcycled Baby Snack Container

Having an 8 month old means I have plenty of baby food containers lying around. Instead of throwing them away, I decided to upcycle a few of them to use as cotton ball and q-tip containers.

Materials needed:
plastic baby snack containers
jute
hot glue
artificial flowers or other embellishments


Start at the top and put a dab of hot glue in the ridge where the lid snaps on. Press down your piece of jute and start wrapping. I didn't figure this out until the second container and it went much more smoothly than the first.
Continue wrapping until the entire container is covered. Hot glue the end piece into one of your ridges to hide it.
Hot glue a pretty flower or other embellishment to your container.


Voila! You now have a pretty storage container and there is one less piece of plastic in a landfill.  Don't forget to buy baby some more treats!


Confessions of a Stay at Home Mommy

Feeding my link party addiction with:

Chic on a Shoestring Decorating

Somewhat Simple

BWS tips button

UndertheTableandDreaming


Transformation Thursday


HookingupwithHoH


NightOwlCrafting


lil luna link party button


Monday, April 25, 2011

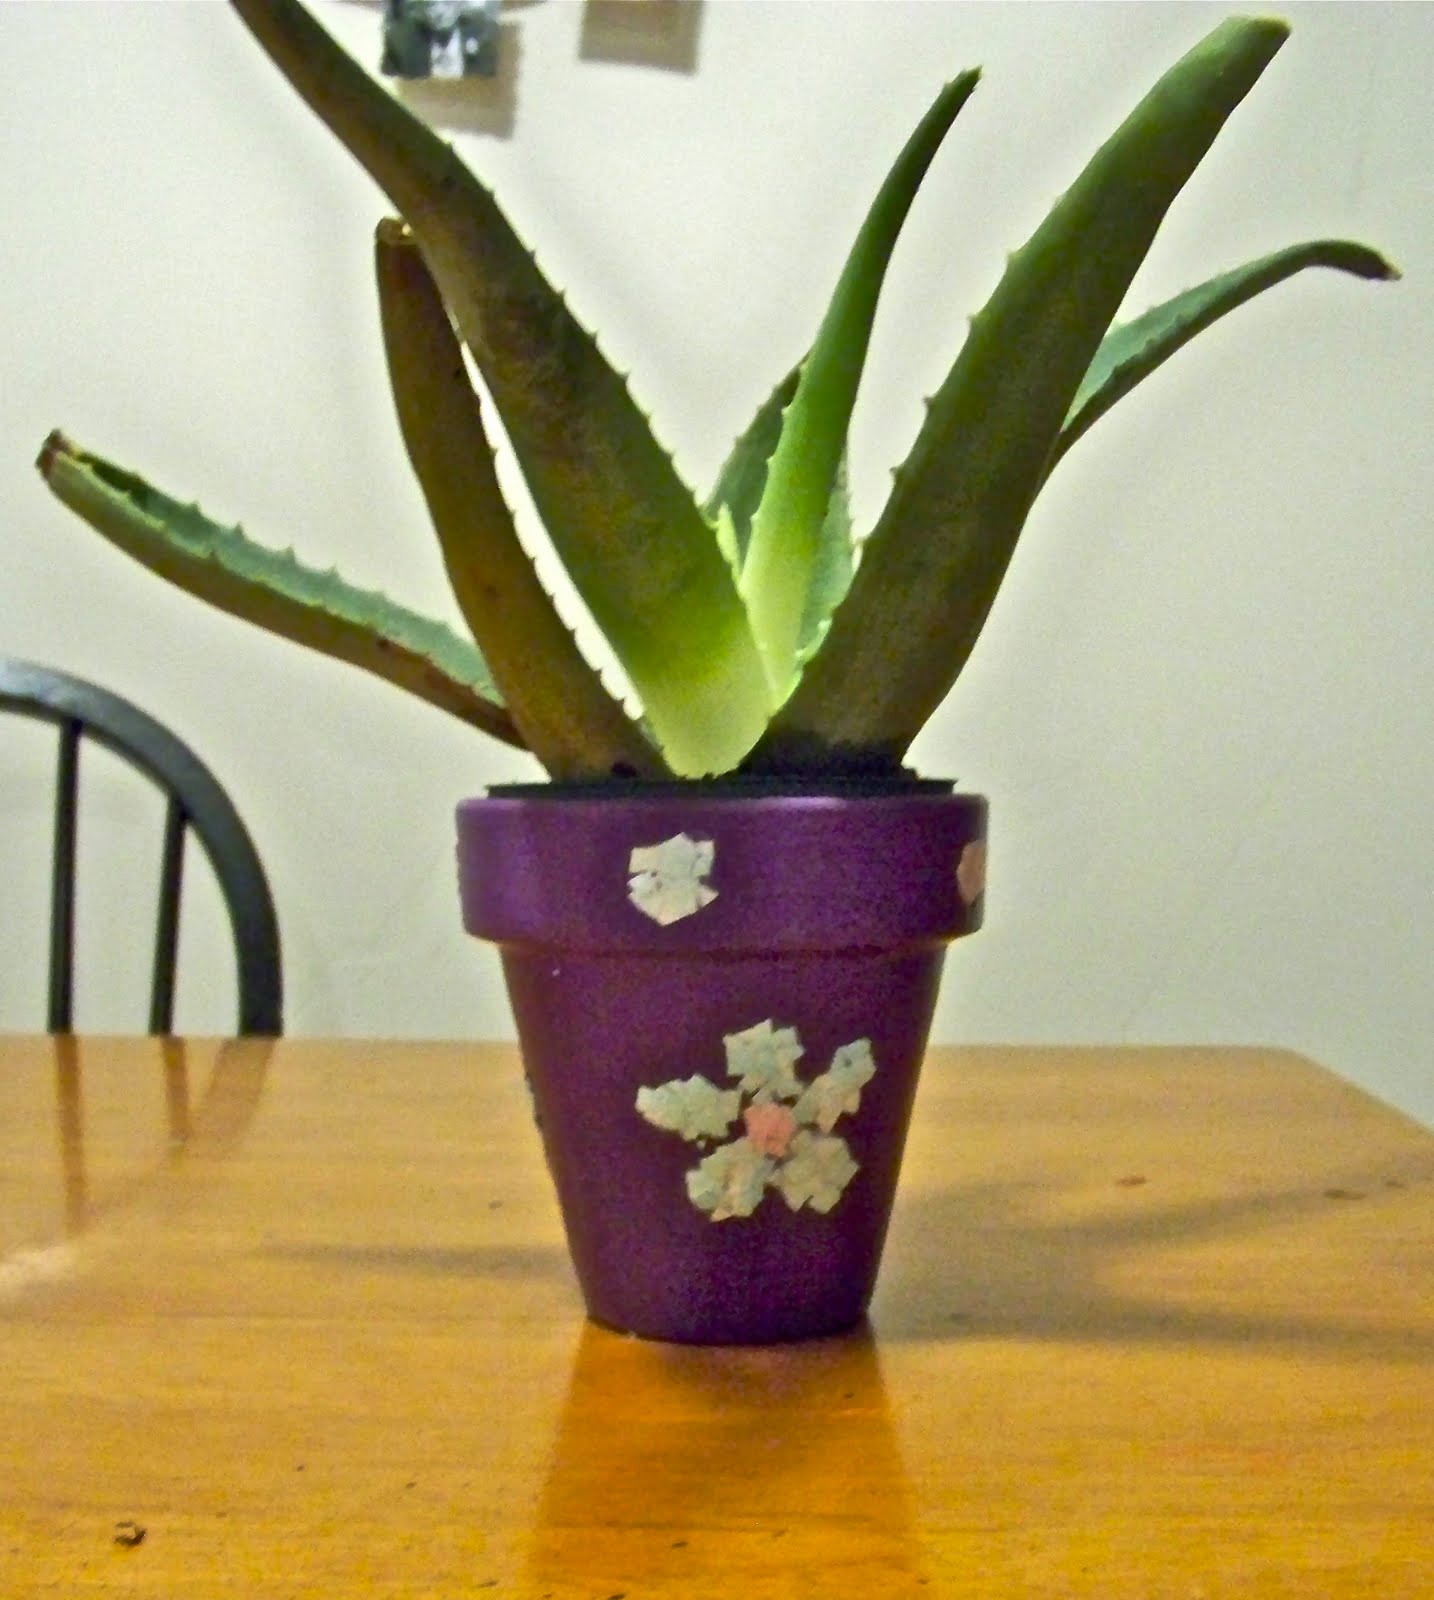
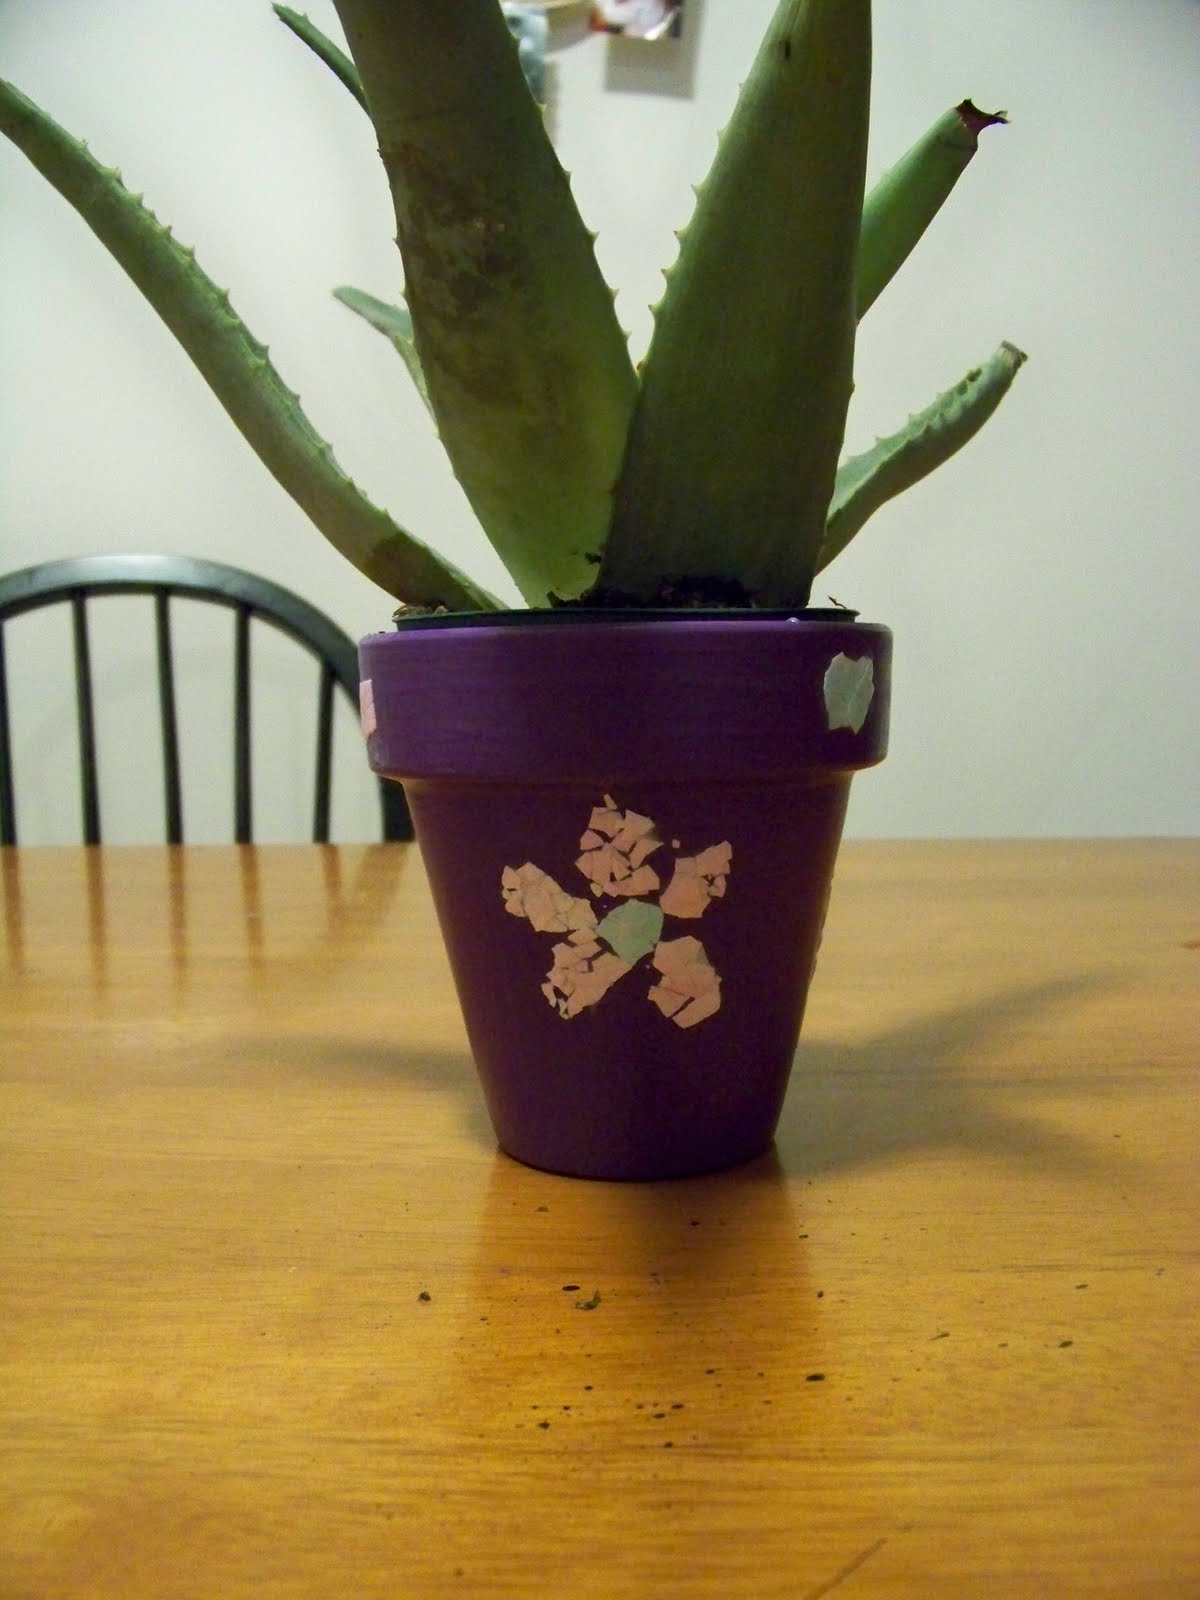
Egg Shell Mosaic Flower Pot


Those left over Easter Egg shells don't belong in the disposal! Save them to create a beautiful work of art!

Materials needed:
Flower pot
Paint
Easter egg shells
Mod Podge
Paint brush

Paint your flower pot and let it dry completely.


If doing a design, draw it on your vase with chalk first.  Brush with mod podge and apply your egg shells. Press the shells down so they are flat against the surface.
Let it dry for at least 15 minutes so the shells stay in place, then coat with a layer of Mod Podge. You may have to do more than one layer.


Once the shells are dry coat the entire flower pot with Mod Podge and let it dry.
Add a plant and admire your work.


Confessions of a Stay at Home Mommy

Friday, April 22, 2011

Bird Seed Tree


I saw this  on my Family Fun Craft Finder app and just had to share it. This is a super-easy activity that is perfect for Earth day.

Materials needed:
Large flower pot
floral foam
Sticks
Peanut butter
Bird seed

If your flower pot is a light weight material weigh it down with some rocks. 
Wedge a brick of floral foam into the pot.


Stick your stick(s) into the foam.


Slather the sticks with creamy peanut butter and coat with a good layer of bird seed.


This probably goes without saying, but do this project OUTSIDE...especially if you are doing it with a 3-year-old.
My kids had a blast doing this and they have been looking out the window every 5 minutes to see if the birdies have come for their treat yet.
Have fun and Happy Earth Day!


Confessions of a Stay at Home Mommy

Wednesday, April 20, 2011

Upcycled Art Supply Station


We live in a really great place, but there is no storage and no craft room for me, so the kitchen has become my workshop. As a result, my counter is insanely cluttered. I created this little beauty from a calendar frame and various recycled materials that I Mod Podged with my kiddles' artwork. I am planning on hanging this inside my coat closet door.

Materials needed:
A large frame with backing 
Empty containers (I used a rice box to hold chenille stems, 2 crystal light containers for scissors and paint brushes, an International Delight tin for a glue stick holder, and a baby food container as a chalk tray)
Skewers or a dowel more than the width of your frame
2 eyelet screws like the ones used to hang picture wire
staple gun
Chalkboard paint
Mod Podge
Artwork or scrapbook paper

If you want a chalkboard on your art station paint the desired area and let it dry. I recommend 2 coats and I REALLY recommend covering your frame with painter's tape. I learned this one the hard way.

Mod Podge the artwork onto your containers and allow them to dry.


Staple the containers to your frame from the back. Push the staple tips flat with a screw driver. 
 I had some trouble with the tin container, so I pushed holes in with a thumb tack where the staple just dented it. I then slid the staple in through the holes and pushed the tips down with a screw driver.
View from the back of the frame


Inside of tin can


To make a ribbon dispenser screw 2 eyelet screws into the frame across from each other and slide in the dowel or 2 skewers hot glued together.


Add your art supplies, hang your station, and enjoy your new counter space!


Confessions of a Stay at Home Mommy

Linking to:

www.bluecricketdesign.net

http://www.somewhatsimple.com

 UndertheTableandDreaming
BWS tips button


lil luna link party button